Your Proxmox, as a cloud console.
Create, resize and rebuild VMs from a clean panel or the nebla CLI. Nebla runs as one container next to Proxmox and installs nothing on the host.
Open source under AGPL-3.0, with unlimited nodes.
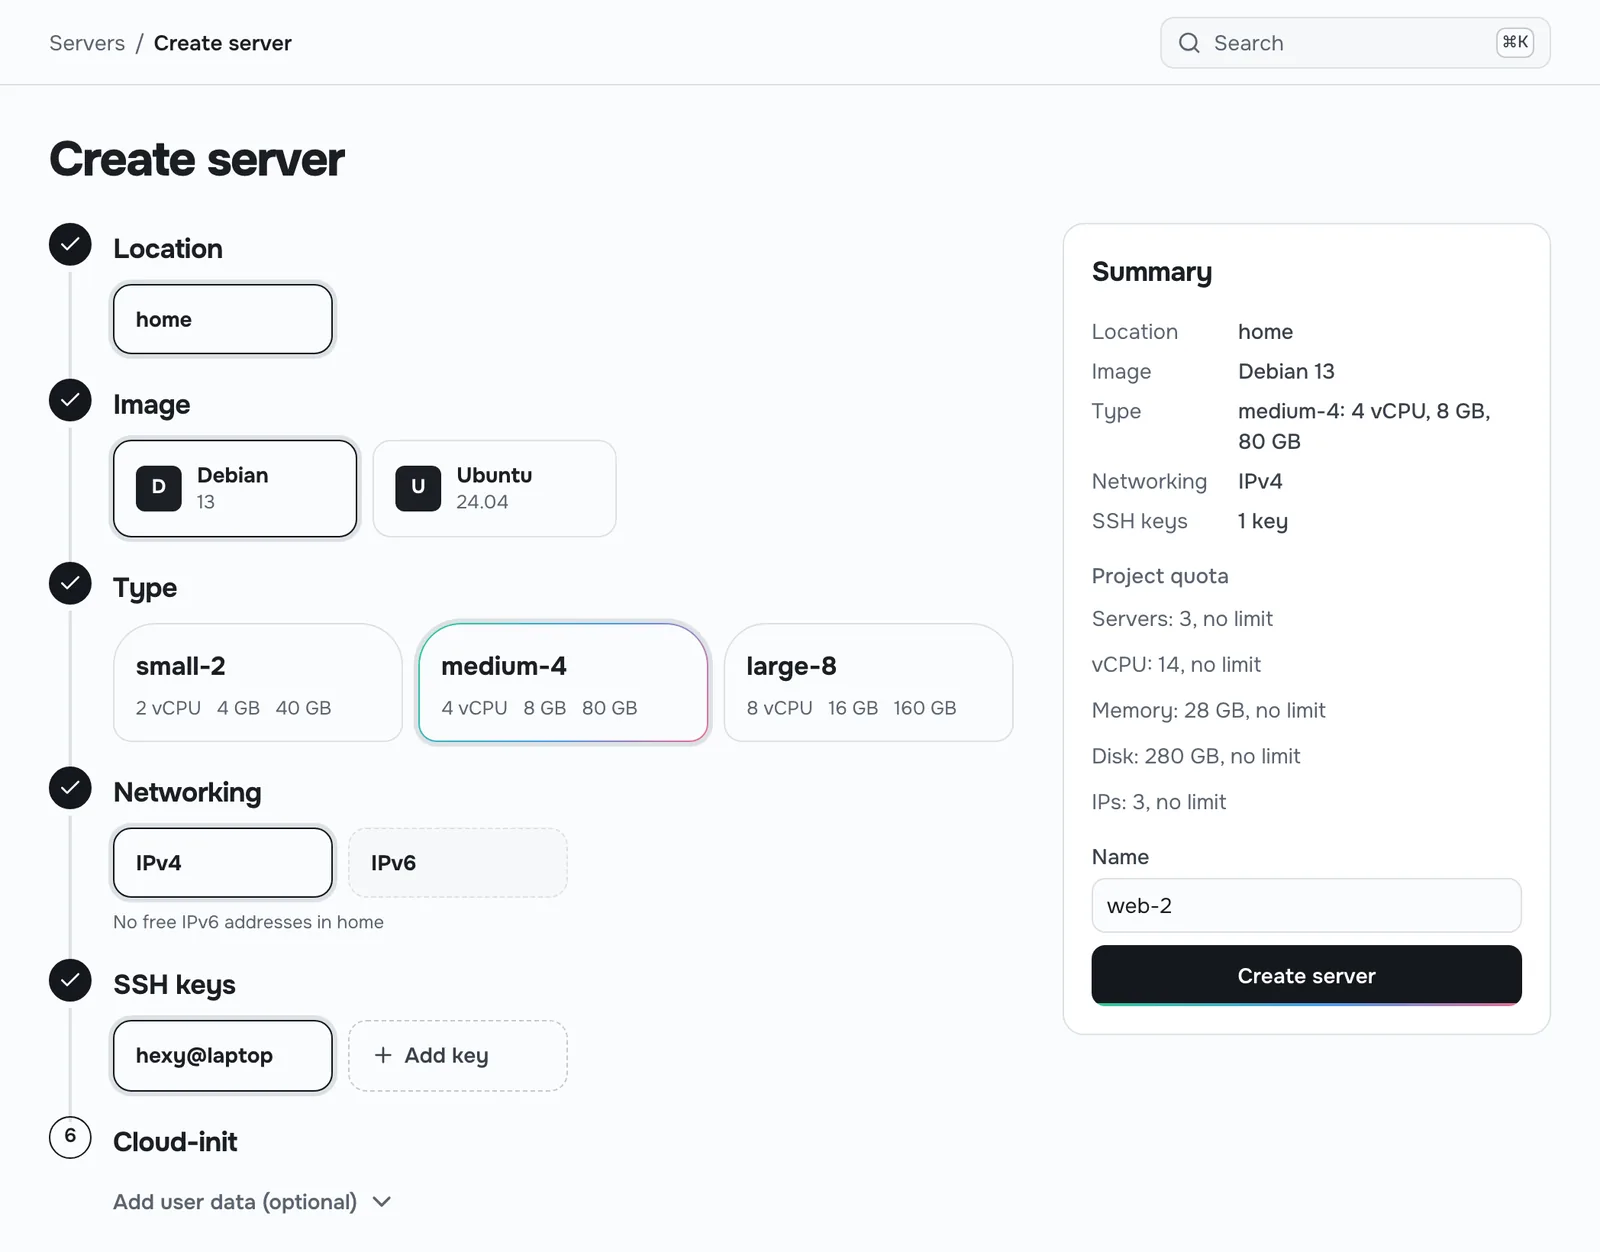
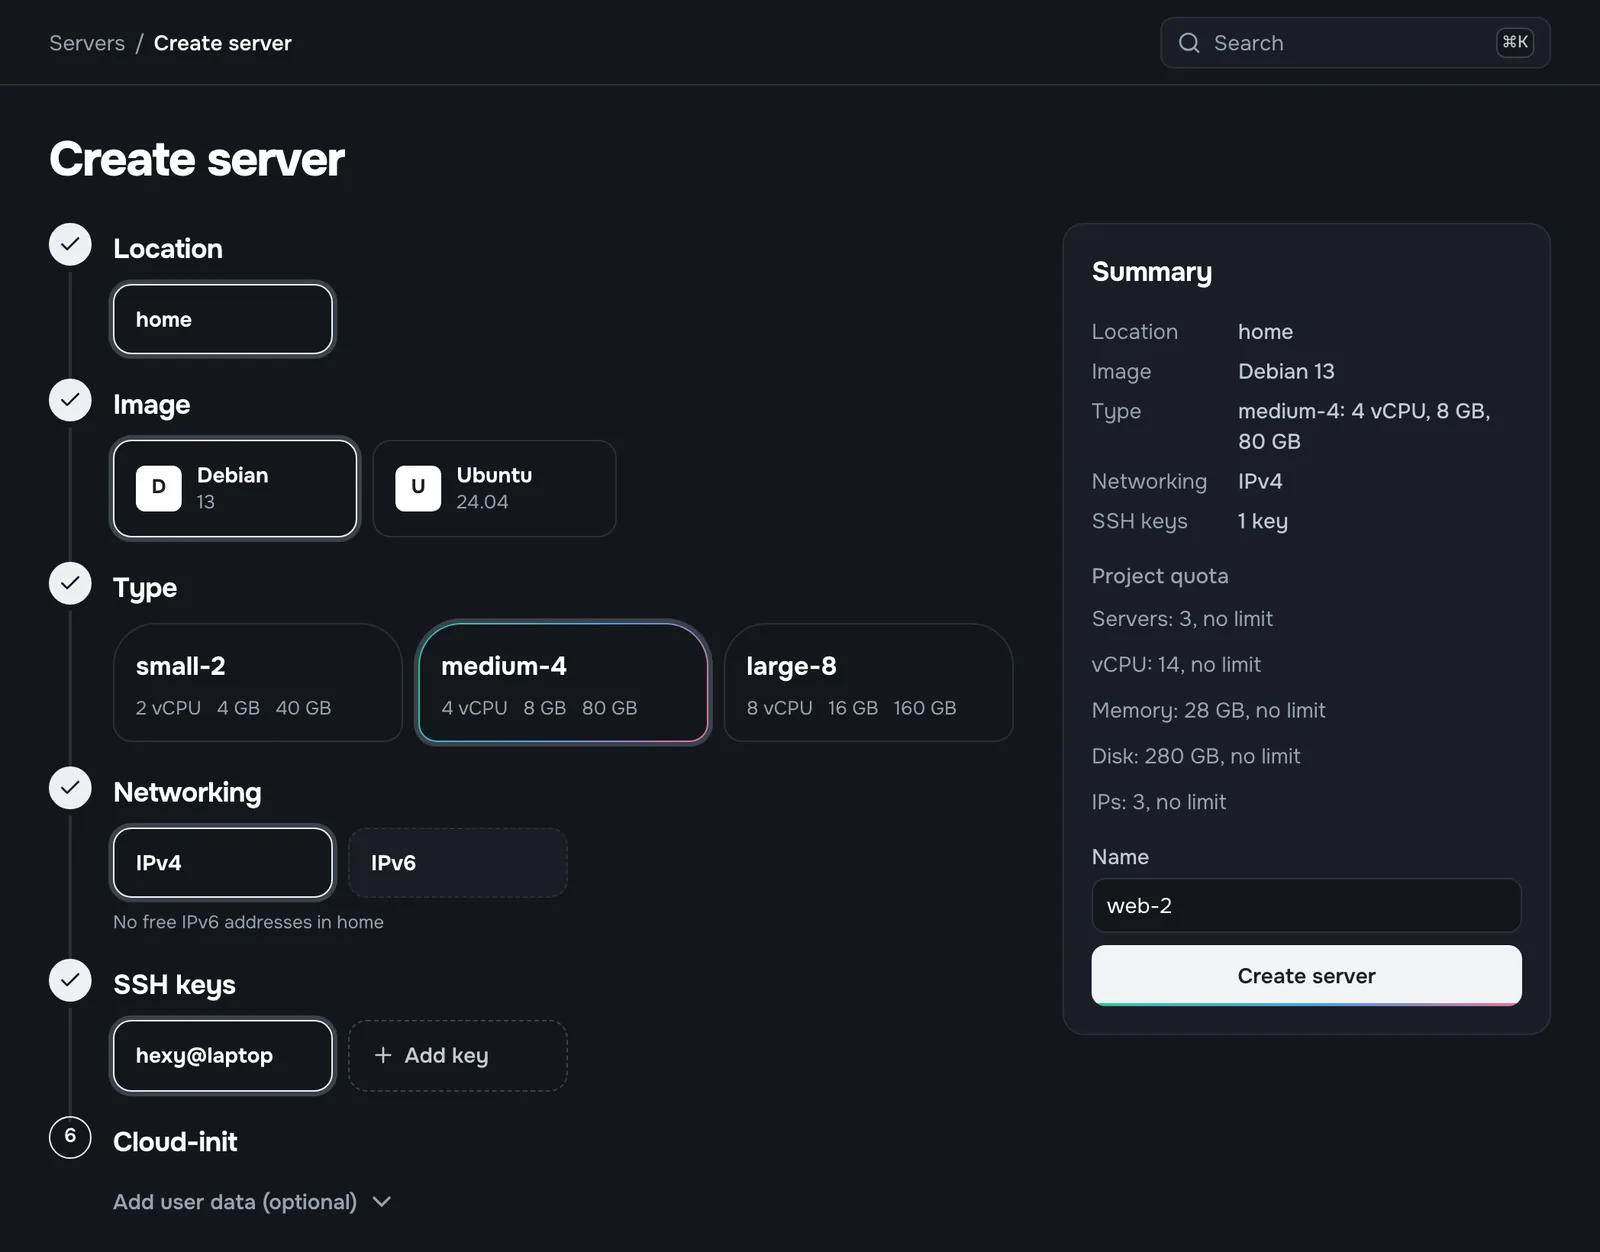
From an empty VM to your first server in three steps
- 1
Start the container
docker compose brings up Nebla and its Postgres database on any machine that can reach Proxmox, such as a small VM or a mini PC.
docker compose up -d - 2
Connect Proxmox
Create an API token with Nebla's role and paste it into the admin area. Nebla works through the Proxmox API and never logs in over SSH or installs an agent.
pveum user token add nebla@pve panel --privsep 0 - 3
Create servers
Pick an image and a type, add your SSH key, and the server boots with cloud-init, a static IP and your key in place.
nebla server create --name web1
Click it or type it
The panel and the CLI sit on the same REST API. Anything you do in the browser you can script, and every change comes back as an action you can wait on.
$ nebla server create --name web1 \
    --type small-2 --image debian-13 --ssh-key laptop
Waiting for create_server... done
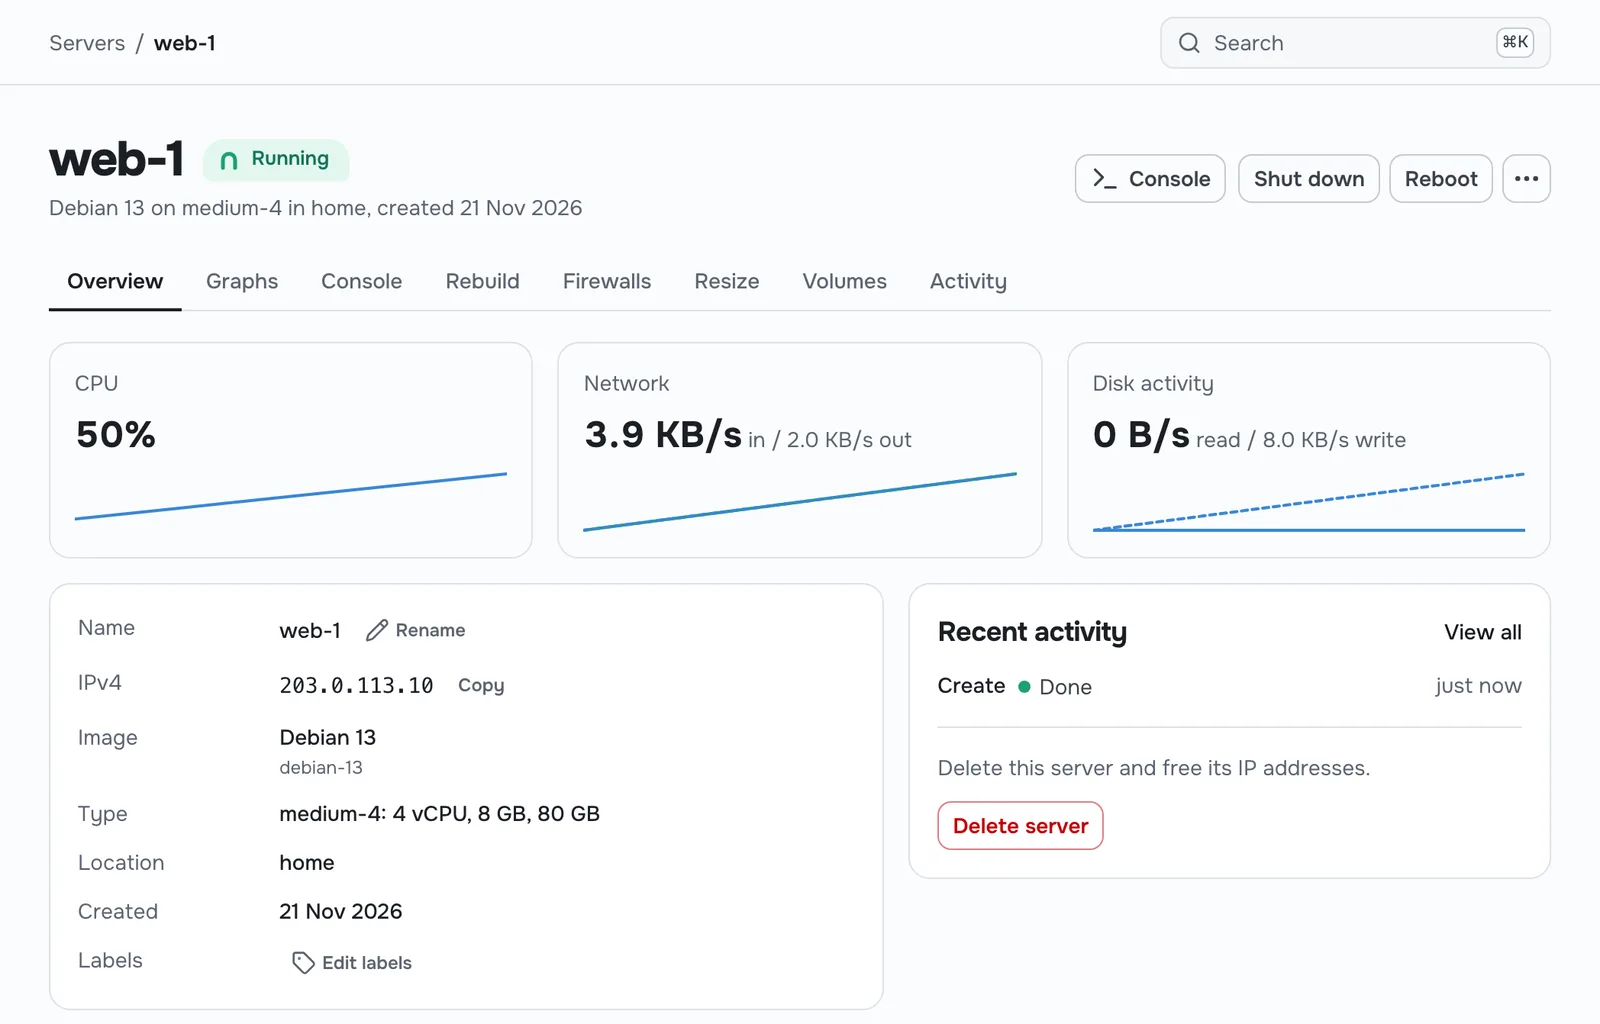
Server web1 is running at 203.0.113.10
$ nebla server list
NAME   STATUS    TYPE      IPV4
web1   running   small-2   203.0.113.10
Who Nebla is for
For your homelab
One box or a small cluster. Get a tidy console for the VMs you spin up every week, with one-click OS images, an API for your scripts, every feature and no node limit.
Nebla for homelabsFor hosting resellers
Projects, quotas and tenant isolation are built in, so each customer sees only their own servers. A commercial module adds billing, self-signup and your own branding.
Nebla for resellersThe core is open source, and it stays that way.
- AGPL-3.0
- You can run and modify it, and changes to the core stay open.
- Unlimited nodes
- The free core has no cap on hosts or clusters.
- Nothing held back
- Every homelab feature is in the core. Only reseller tooling is paid.
Try it on your own hardware
Nebla needs Docker, a Proxmox VE 8 or 9 host, and a few minutes. The install guide covers the API token and the first admin account.
Read the install guide$ mkdir nebla && cd nebla
# add compose.yaml and .env from the install guide
$ docker compose up -d
✔ Container nebla-postgres-1 Healthy
✔ Container nebla-panel-1 Started
$ open http://localhost:8080